(SKU: ARD330005)YWRduino Pro Micro Mini Leonardo开发板带电压调节器兼容Arduino
来自YwRobot Studio Wiki
产品参数
- 尺寸:34*18mm
- 主芯片:Atmega328P-PU
- 串口芯片:CH340
- 输入电压:5V或外部7V~12V DC输入
- 速度:16MHz
- 支持ISP下载功能
- 支持单片机TX/RX端子
- 支持AREF端子
- 支持串口
- Digital I/O 数字输入/输出端共12个
- Analog I/O 模拟输入/输出端共4个
- 支持5組PWM端子(Pin10,Pin9,Pin6,Pin5,Pin3)
注意:本产品由官方资料复刻,非意大利原装进口!
产品特性
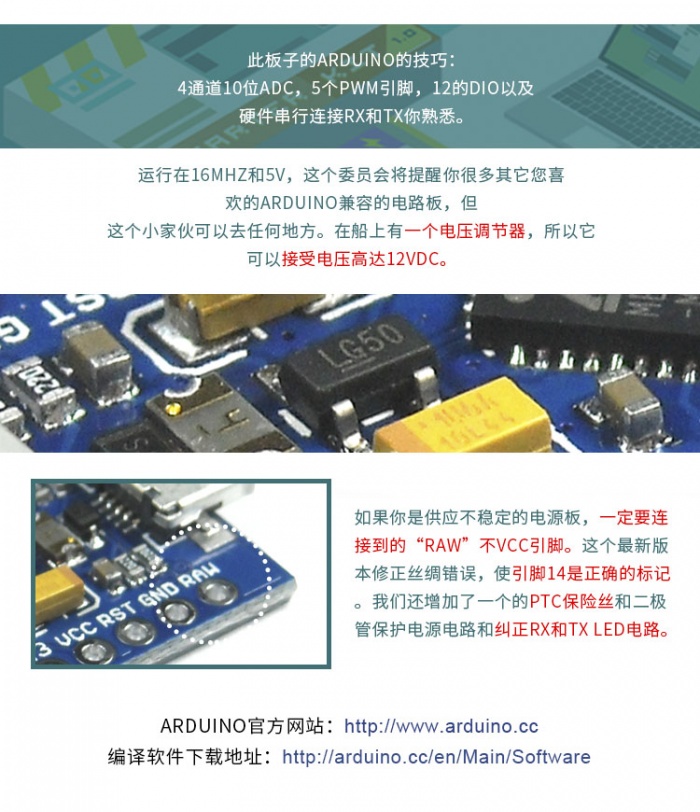
- 1、4通道10位ADC,5个PWM引脚,12的DIO以及硬件串行连接Rx和Tx,功能强大,满足全部需求。
- 2、运行在16MHz和5V,拥有超多令人惊喜的功能。
- 3、有一个电压调节器,可以接受电压高达12VDC。如果你提供的电源不稳定,一定要连接到的“RAW”VCC引脚。
- 4、增加了一个的PTC保险丝和二极管保护电源电路。
- 5、优化了布线设计和元件布局,优秀的PCB设计,视觉效果精致美观。
- Arduino官方网站:http://www.arduino.cc
- 编译软件下载地址:https://www.arduino.cc/en/Main/Donate
使用教程
注:请配合面包板使用
样例代码
/*
  Blink
  Turns on an LED on for one second, then off for one second, repeatedly.

  This example code is in the public domain.
 */

// Pin 13 has an LED connected on most Arduino boards.
// give it a name:
int led = 13;

// the setup routine runs once when you press reset:
void setup() {
  // initialize the digital pin as an output.
  pinMode(led, OUTPUT);
}

// the loop routine runs over and over again forever:
void loop() {
  digitalWrite(led, HIGH);   // turn the LED on (HIGH is the voltage level)
  delay(1000);               // wait for a second
  digitalWrite(led, LOW);    // turn the LED off by making the voltage LOW
  delay(1000);               // wait for a second
}

'''实验结果''':控制板上的D13口LED(带有L标识)闪烁,时间间隔1秒。
更多
[[YWRobot产品资料下载]https://pan.baidu.com/s/1_dsP8Be0FlU04GIFLOBWsA]
提取码:omtk

